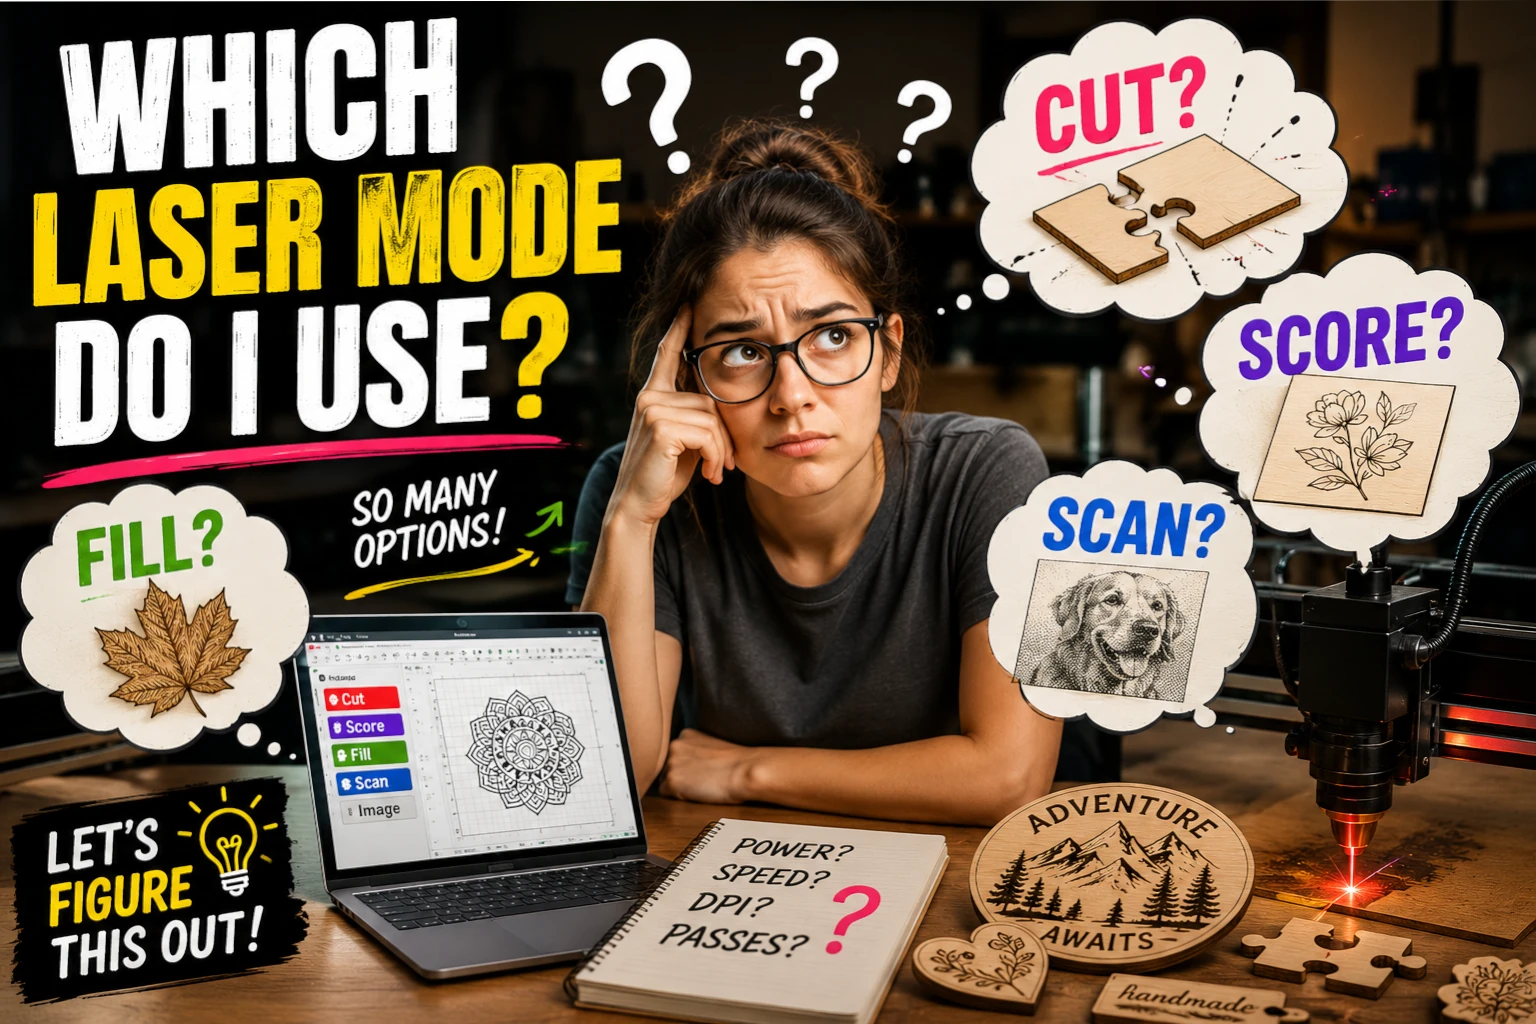
Demystifying Laser Cutting Modes: A Guide to Cut, Fill, Scan, and More
If you’ve just unboxed your first laser cutter or you’re finally diving into software like LightBurn, LaserGRBL, or EZCAD, you’ve probably noticed a few confusing terms. To get the machine to do what you want, you have to assign a "mode" to your design. Depending on your software, you might see options like Cut, Line, Fill, Scan, or Image.
But what do these actually mean, and more importantly, when should you use them?
Understanding laser modes is the key to transforming your digital designs into beautiful physical objects. Let’s break down the primary laser modes, how they work, and when to use each one.
Fuel Your Business with Better Files
The difference between a "good" product and a "best-seller" is the quality of the design. Our production-ready digital files are optimized for laser software, ensuring clean cuts and perfect burns every time.
1. Line Mode (Also known as "Cut","Score" or "Vector")
How it works: In Line mode, the laser head traces the exact vector path of your design. Think of it like a pen tracing the outline of a shape. The laser stays on constantly as it moves smoothly along the continuous line.
Primary Uses:
- Cutting: This is the mode you use to cut all the way through a material. You typically set a slow speed and high power.
- Scoring (Vector Engraving): If you want to draw a thin, crisp outline on the surface of your material without cutting all the way through, you use Line mode with a much higher speed and lower power. This is perfect for adding fine details to a larger cut-out shape.
When to use it: Use Line mode anytime you need to separate a piece from your stock material, cut out a silhouette, or draw sharp, thin architectural lines.
2. Fill Mode (Also known as "Scan" or "Raster")
How it works: Fill mode tells the laser to shade in the inside of a closed vector shape. Instead of tracing the outline, the laser head moves back and forth horizontally across the shape, stepping down a tiny fraction of a millimeter with each pass. It pulses on and off to "color in" the area, acting very much like a standard inkjet printer.
Primary Uses:
- Engraving Text: Filling in bold fonts to make them easily readable.
- Solid Logos and Graphics: Shading in the dark areas of a vector illustration.
- Deep Engraving: By running multiple passes or using high power, you can vaporize away layers of material to create a 3D recessed effect.
When to use it: Use Fill mode when you have closed shapes (like circles, squares, or outlined text) that you want to be completely darkened or recessed into your material.
3. Offset Fill (Advanced Fill)
How it works: Instead of scanning back and forth left-to-right, Offset Fill traces the outside shape of your object and spirals inward (or outward) concentrically until the entire shape is filled.
Primary Uses:
- Time Saving: For certain hollow or circular shapes, moving back and forth across empty space takes a long time. Offset fill keeps the laser head strictly over the areas that need to be burned.
- Unique Textures: It leaves a different burn pattern compared to standard scanning, which can be visually striking on materials like wood or leather.
When to use it: Try Offset Fill for thick borders, O-rings, or any concentric shape where standard left-to-right scanning would result in a lot of wasted movement.
4. Image Mode (Dither / Halftone)
How it works: Lasers essentially only have two states: ON or OFF. They can't directly print shades of gray. To engrave a photograph, the software must convert the image into millions of tiny black and white dots. By varying the density of these dots (Dithering), your eyes are tricked into seeing shades of gray.
Primary Uses:
- Photographs: Engraving portraits onto wood, slate, or canvas.
- Complex Raster Graphics: Any graphic with gradients, shading, or non-vector elements.
When to use it: Use Image mode strictly for pixel-based files like JPGs, PNGs, or BMPs where you need to reproduce photographic shading.
The "Line + Fill" Combo
Many software programs offer a combination mode (sometimes called Fill + Line).
When you use this, the machine will first execute a standard Fill (scanning back and forth) to darken the shape, and then it will automatically run a Line pass around the exact perimeter.
Why do this? Scanning can sometimes leave microscopic jagged edges on curves depending on your line interval (the space between the laser's horizontal passes). Running a quick vector line around the border cleans up those edges, resulting in a perfectly crisp, professional-looking engraving.
Cheat Sheet: Which Mode Do I Choose?
| Goal | Suggested Mode | Software Terms |
|---|---|---|
| Cut a shape out of wood/acrylic | Line | Cut, Vector, Line |
| Draw a thin, precise outline | Line (Fast speed, low power) | Score, Cut, Vector |
| Shade in a solid shape or thick text | Fill | Scan, Raster, Engrave |
| Engrave a photograph or gradient | Image | Dither, Halftone, Jarvis |
| Engrave a solid logo with perfect edges | Fill + Line | Scan + Cut, Fill & Line |
Mastering your laser cutter is all about knowing how to combine these modes. Most complex projects will require you to assign multiple layers: an Image layer for a photo, a Fill layer for some bold text, and finally a Line layer to cut the whole thing out.
Don't be afraid to test different speeds and powers on scrap material to see exactly how these modes interact with your specific laser!